The Report Card module has a very natural flow. Here's a quick look at the whole "life-cycle" of a report card - from setup to publishing:
1 – Go to “Report Cards”

2 – Click on “Setup Report Cards”

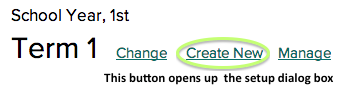
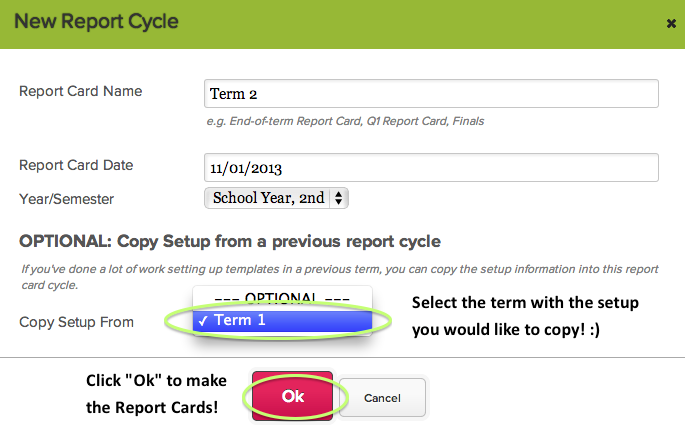
3 – Click “Create New”
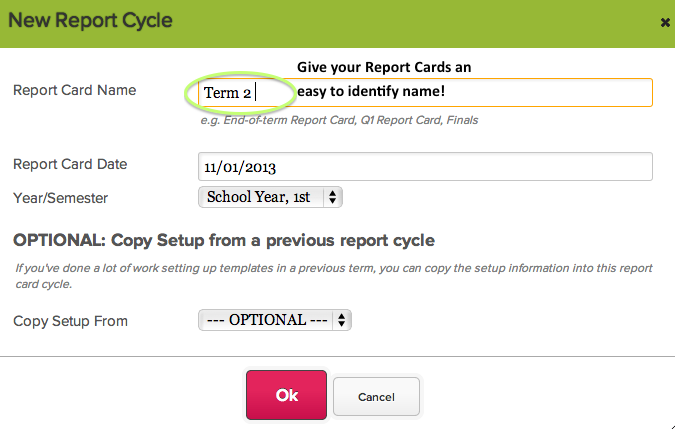
4 – Give your Report Cards a descriptive name
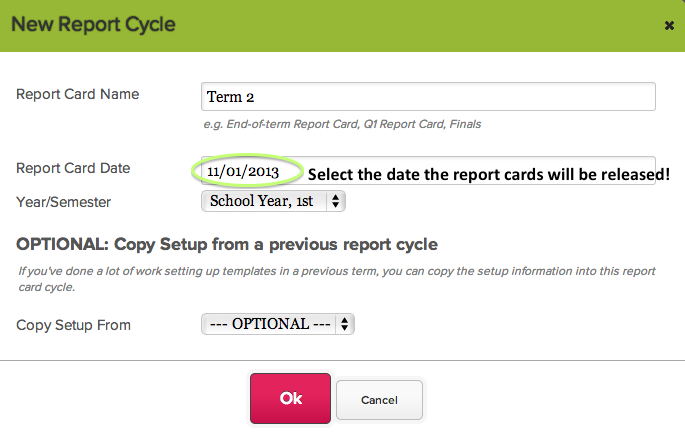
5 – Fill in “Report Card Date”
6 – Use the dropdown menu for “Year/Semester” to select the correct term
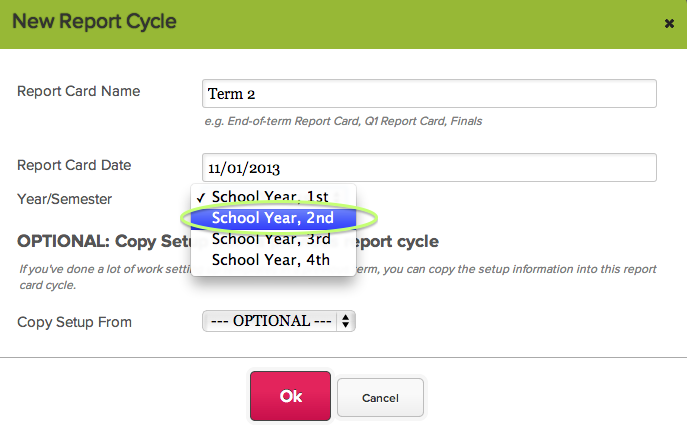
7 – Copy setup from a previous term if you would like to use the same formatting as another semester. Press “Ok” when you are done to create the report cards!
8 – Check your Report Cards by opening them in the “Report Cards” list
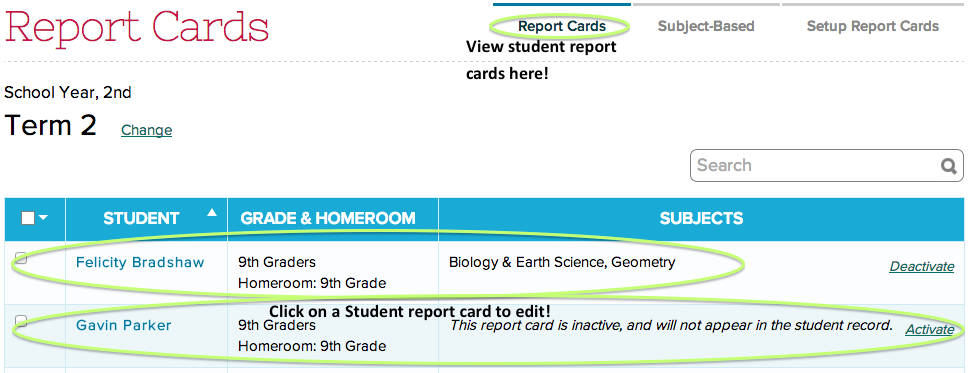
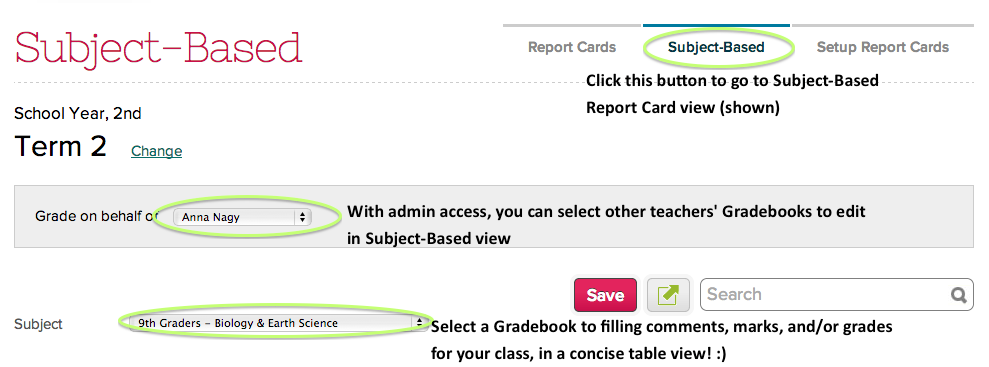
9 – Enter Custom Marks and Grades in Subject-Based (Report Cards) or directly onto the students’ individual report cards
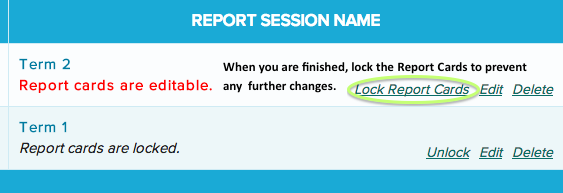
10 – When all the Report Cards are finished, lock the Report Card
-
Locking Report Cards will prevent editing, and no longer update from the Gradebook
-
The Report Cards may be unlocked to edit, but they will not update from the Gradebook
-
If the Report Cards are locked and Activated, they will be posted to the Students’ records and Parent and Student Portals, if Gradebook/Report Cards is enabled for parents and students
To lock, first go to “Setup Report Cards” and click “Manage”
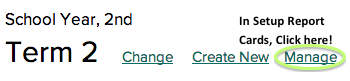
Then, click the “Lock Report Card” button!
…and that’s it! Now, you’ve made, filled in, and locked a brand new batch of Report Cards.
Hope this checklist helps you see how to make a new batch of Report Cards! Of course, if you have any questions, feel free to chat in anytime!