Our After-School Activities module is a handy little functionality that allows you as the school to keep track of which activities students are participating in. It’s super simple, quick to setup, and easy to use!
To turn on After-School Activities, you’ll need to either (a) be on the Athena Plan and simply turn it on in SETTINGS, or (b) contact our Support team to add this module onto your subscription (After-School Activities is an Athena feature).
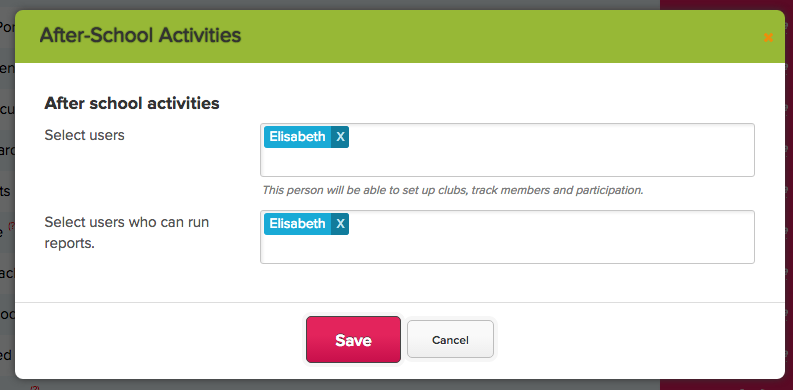
Once enabled, make sure you have access rights configured. This is done from the “Configure” link for After-School Activities within SETTINGS, and will look something like this:
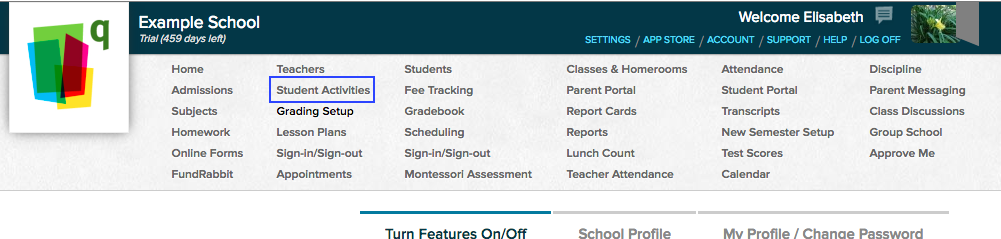
Now that you’ve set up the feature, it’s time to start using it! Locate the words “Student Activities” in the grey menu at the top of your page.
Nice job! In the After-School Activities menu now, you’ll see a blank table, somewhere along the lines of this:
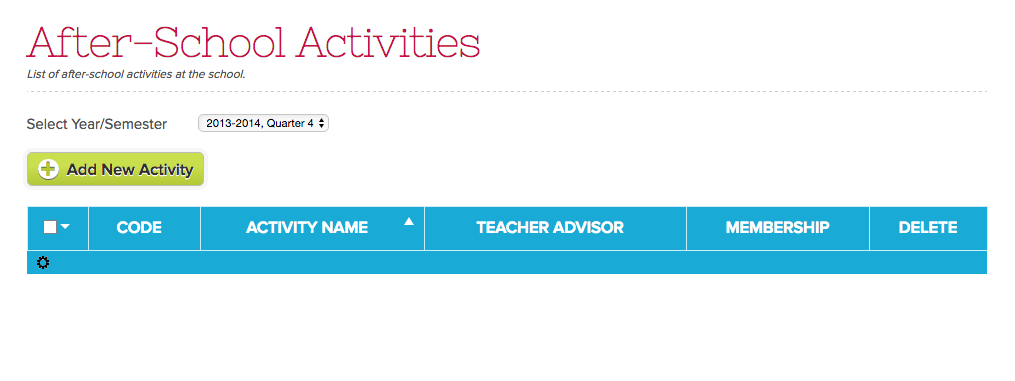
Notice that you’ll need to select which term you’re working in. Here, for instance, a dusty 2013-2014 “Quarter 4” term to play around with has been selected. In addition, there are a couple options for how to sort the table. Alphabetical by “Activity Name,” as in the screenshot above, is a good place to start!
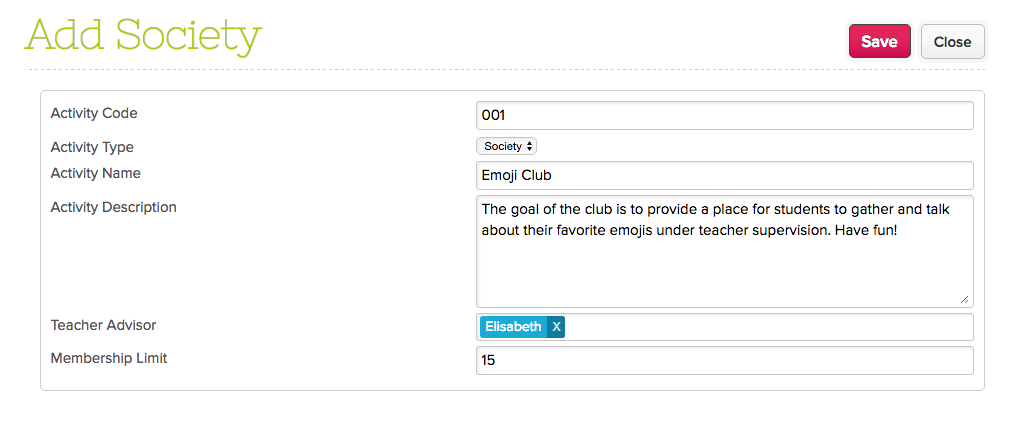
Let’s add an activity! To start, click the green “Add New Activity” button. You’ll now get the “Add Society” page. Some notes about the fields:
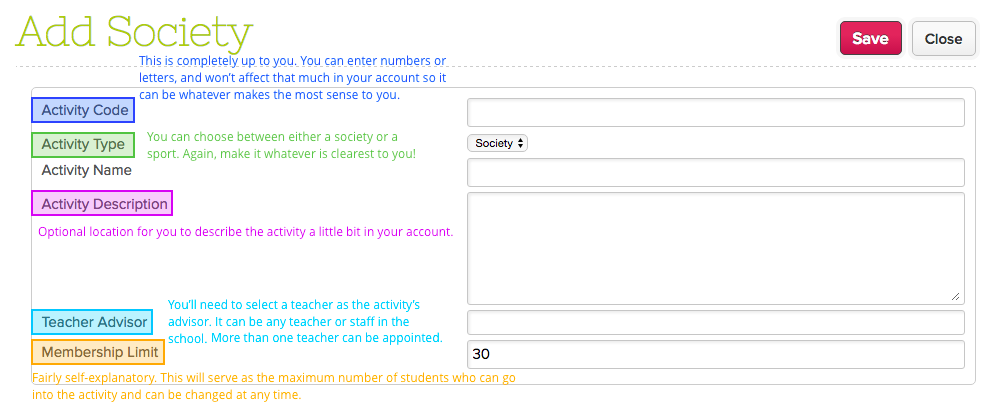
Here’s how this might look, with some dummy data added for illustration purposes:
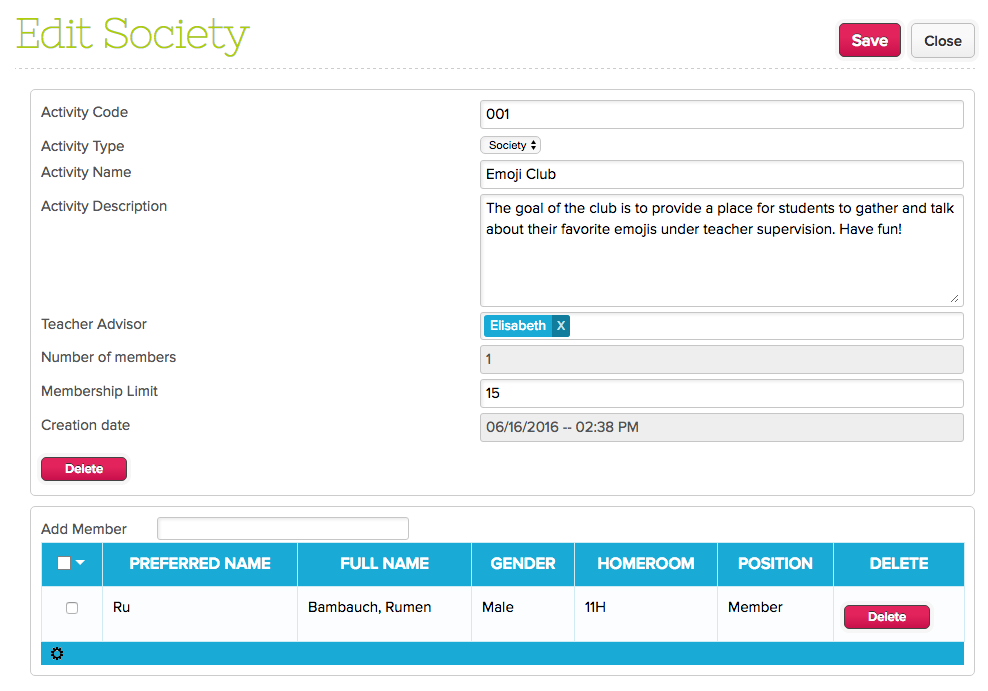
Now click the red save button. Here’s what you’ll see:

And now to enroll some students, click on the row for the appropriate activity. You’ll open up the Edit Society page. Simply enter the name of a student in the “Add Member” field (or select the student’s name from the dropdown) and they will be added. Here’s what you’ll see, with a dummy student added to the society:
Now just click “Save” and you’re all set!
Have fun with this feature. If you have any questions, as always just let us know and we’ll walk you through the process!