When you create a new enrollment period in the Master Scheduler you will need to assign the appropriate terms/semesters. You will also need to add in the Bell Schedule that will be used under the new enrollment period. This article describes how to assign your semesters to the enrollment period and how to add a bell schedule.
Create New Enrollment Period
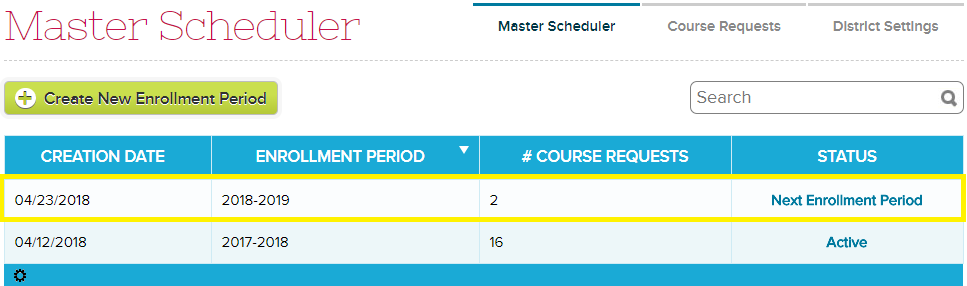
Click on the “Create New Enrollment Period” button.

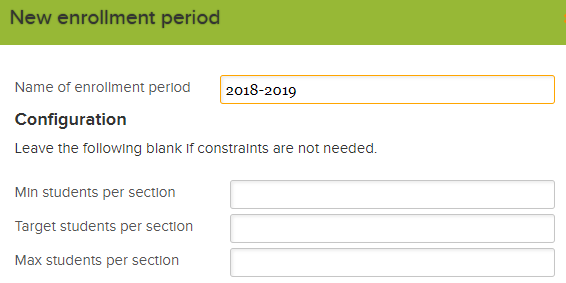
In the “Name of enrollment period” field add the name of your new enrollment period. Under this step you can also add minimum, maximum, and target students per section. You can set as many of these limits as you need:
Once the enrollment period has been created it will be added to the list of enrollment periods on the “Master Scheduler” screen:
Configure Enrollment Period
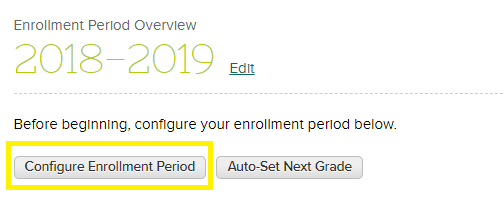
Click on the enrollment period in the list on the Master Scheduler screen in order to configure setup. Then click on the “Configure Enrollment Period” button:
In the “Semesters” field, select the semesters that will be a part of this enrollment period:
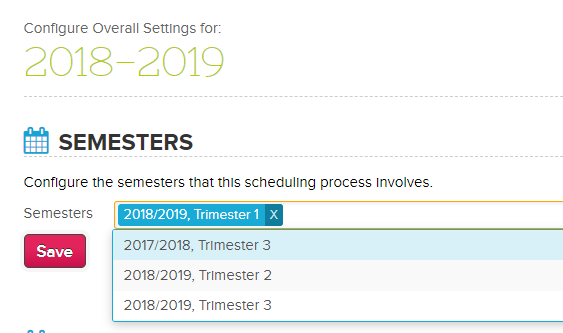
NOTE: The semesters added to the enrollment period will show on the schedule board under Step 4. You can add one at a time while working on the schedule to avoid confusion.
Configure Bell Period
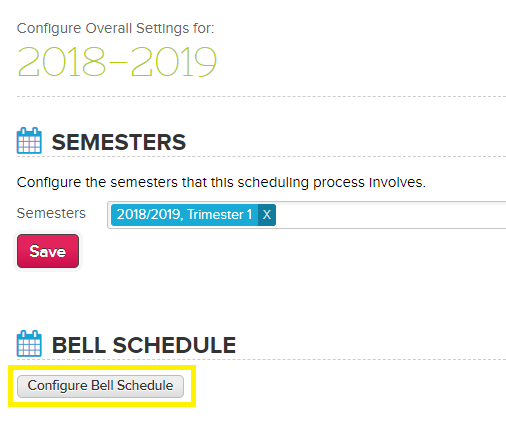
To add a period to your bell schedule go to the Master Scheduler tab and open the enrollment period. Then click on "Configure Enrollment Period". This will take you to the Configure Overall Settings page here you will see the Bell Schedule section. Click on "Configure Bell Schedule":
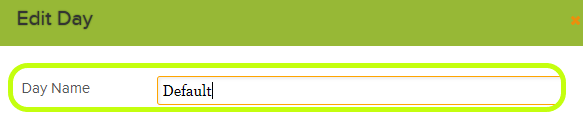
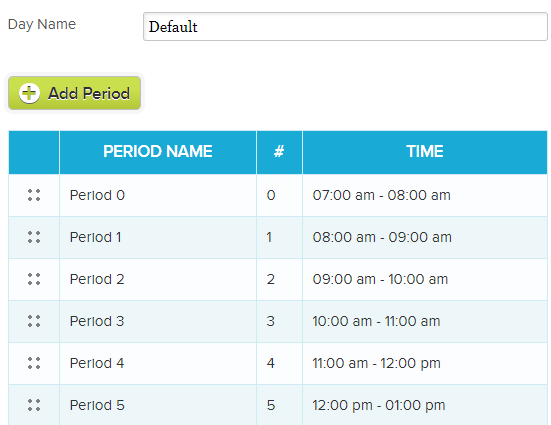
Click on “Add Day” to add your bell schedule. In the “Day Name” field add the name of your bell schedule:
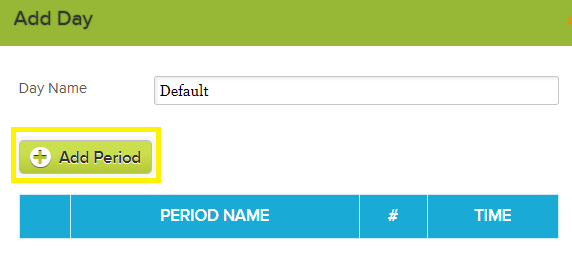
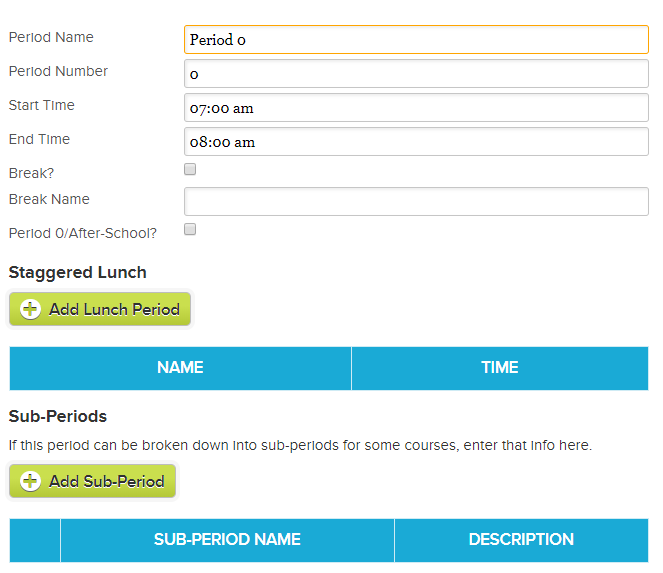
Then click “Add Period” to configure your periods. Your Bell Schedule MUST start with "Period 0". Schools typically use this Period 0 to signify the time when school is open before classes start, you can just add in any time before your first period here. Attendance begins at Period 1, when scheduling courses be sure to keep in mind that courses assigned under Period 0 will not be shown under attendance:
Add all of your period names, numbers and start and end times:
Do this for all periods. You should end with something like this:
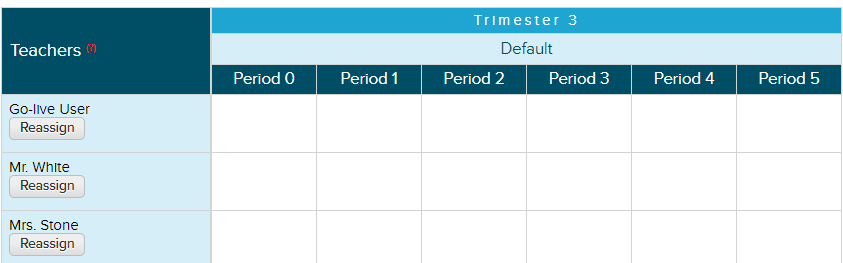
If you go to the Schedule Board under Step 4 of the Master Scheduler you will see your Bell Schedule reflected there: