This document describes how to use the schedule board and functions within the schedule board process under Step 4 of the Master Scheduler.
Opening the Schedule Board
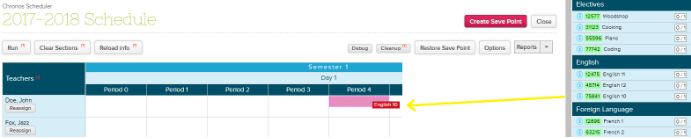
You can get to the Schedule Board by clicking the “Schedule” button under Step 4. If you click on the “Schedule” button you will be taken to the schedule board. On screen you will see your teachers listed along with the periods in your bell schedule.
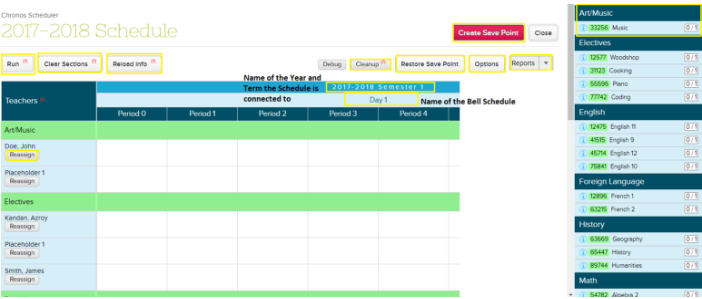
The schedule board can be organized by departments (which is displayed in the image above) or by teachers. The periods are listed based on the Bell Schedule linked to the enrollment period.
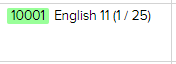
To the right of the schedule board subjects are listed and organized by department. The course code and course name is listed along with a fraction which signifies the amount of sections scheduled/amount of sections needed.
Overview of Functions
There are several functions on this screen, below is a quick overview of what each function does.
Run: This function will automatically assign remaining sections where possible.
Clear Sections: This function will clear ALL sections from the schedule board so that you can start fresh.
Reload Info: This function will update the schedule board board to reflect changes made to Courses, Course Requests, Teachers, etc.
Create Save Point: This function allows you to save a copy of the schedule as it is, if you make changes you can go back to the save point you created.
Restore Save Point: This functions allows you to restore save points that you have created previously using “Create Save Point”
Functions under “Options”
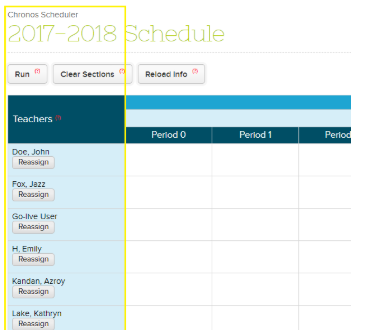
Organize by department: Allows you to organize the schedule board by department. If the box is unchecked the schedule board will be organized by teacher automatically:
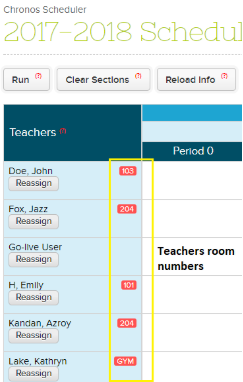
Show room info: Allows you to add a teachers room information to the schedule board:
Show in Compact Mode: Allows you to view a compact version of the schedule board. This way you will have a better view of all periods. If you choose to use compact mode you will see less course info. Normally you see the Course Code, Course Name, and # Enrolled Students/Max Enrollment however with Compact Mode you will only see the Course Code and # Enrolled Students/Max Enrollment
Scheduling Sections
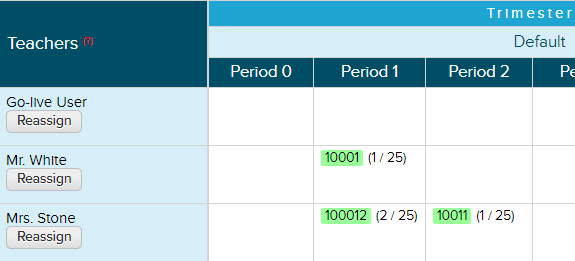
To add a class to the schedule you can drag and drop a course from the right side of the screen onto the schedule board:
Once the course is added to the schedule board you will see the Course Code, followed by the Course name and # Enrolled Students/Max Enrollment:
Cleanup: If you have already begun loading students into classes under Step 5 but changes have been made to student course requests, use the CLEANUP button on the Schedule Board in order to unassign students who have been assigned to sections that they no longer have course requests for